Having lengthy and voluminous hair is the desire of all women. If you have always wanted to get the look of long hair, but do not have the patience to wait for your hair to grow, then clip-in hair extensions are the perfect solution for you. Clip-in hair extensions greatly and instantly add volume and length to your hair without long-term commitment or damage. It is a fast and easy way you can alter or improve your look.
Putting clip hair extensions into your hair is a great way to enhance your hairstyle. However, it is important to take the necessary steps to ensure that you are not damaging your hair in the process. It is a good idea to consult a professional stylist prior to purchasing any hair 22-inch tape hair extensions, as they will be able to advise you on the most suitable type of extensions for your natural hair type. Before applying for the extensions, you should always ensure that your hair is properly washed and conditioned, as this will make the extensions easier to clip in, as well as prevent them from becoming overly dry or damaged. After washing your hair, you should leave it slightly damp before blow-drying it until it is smooth and straight.
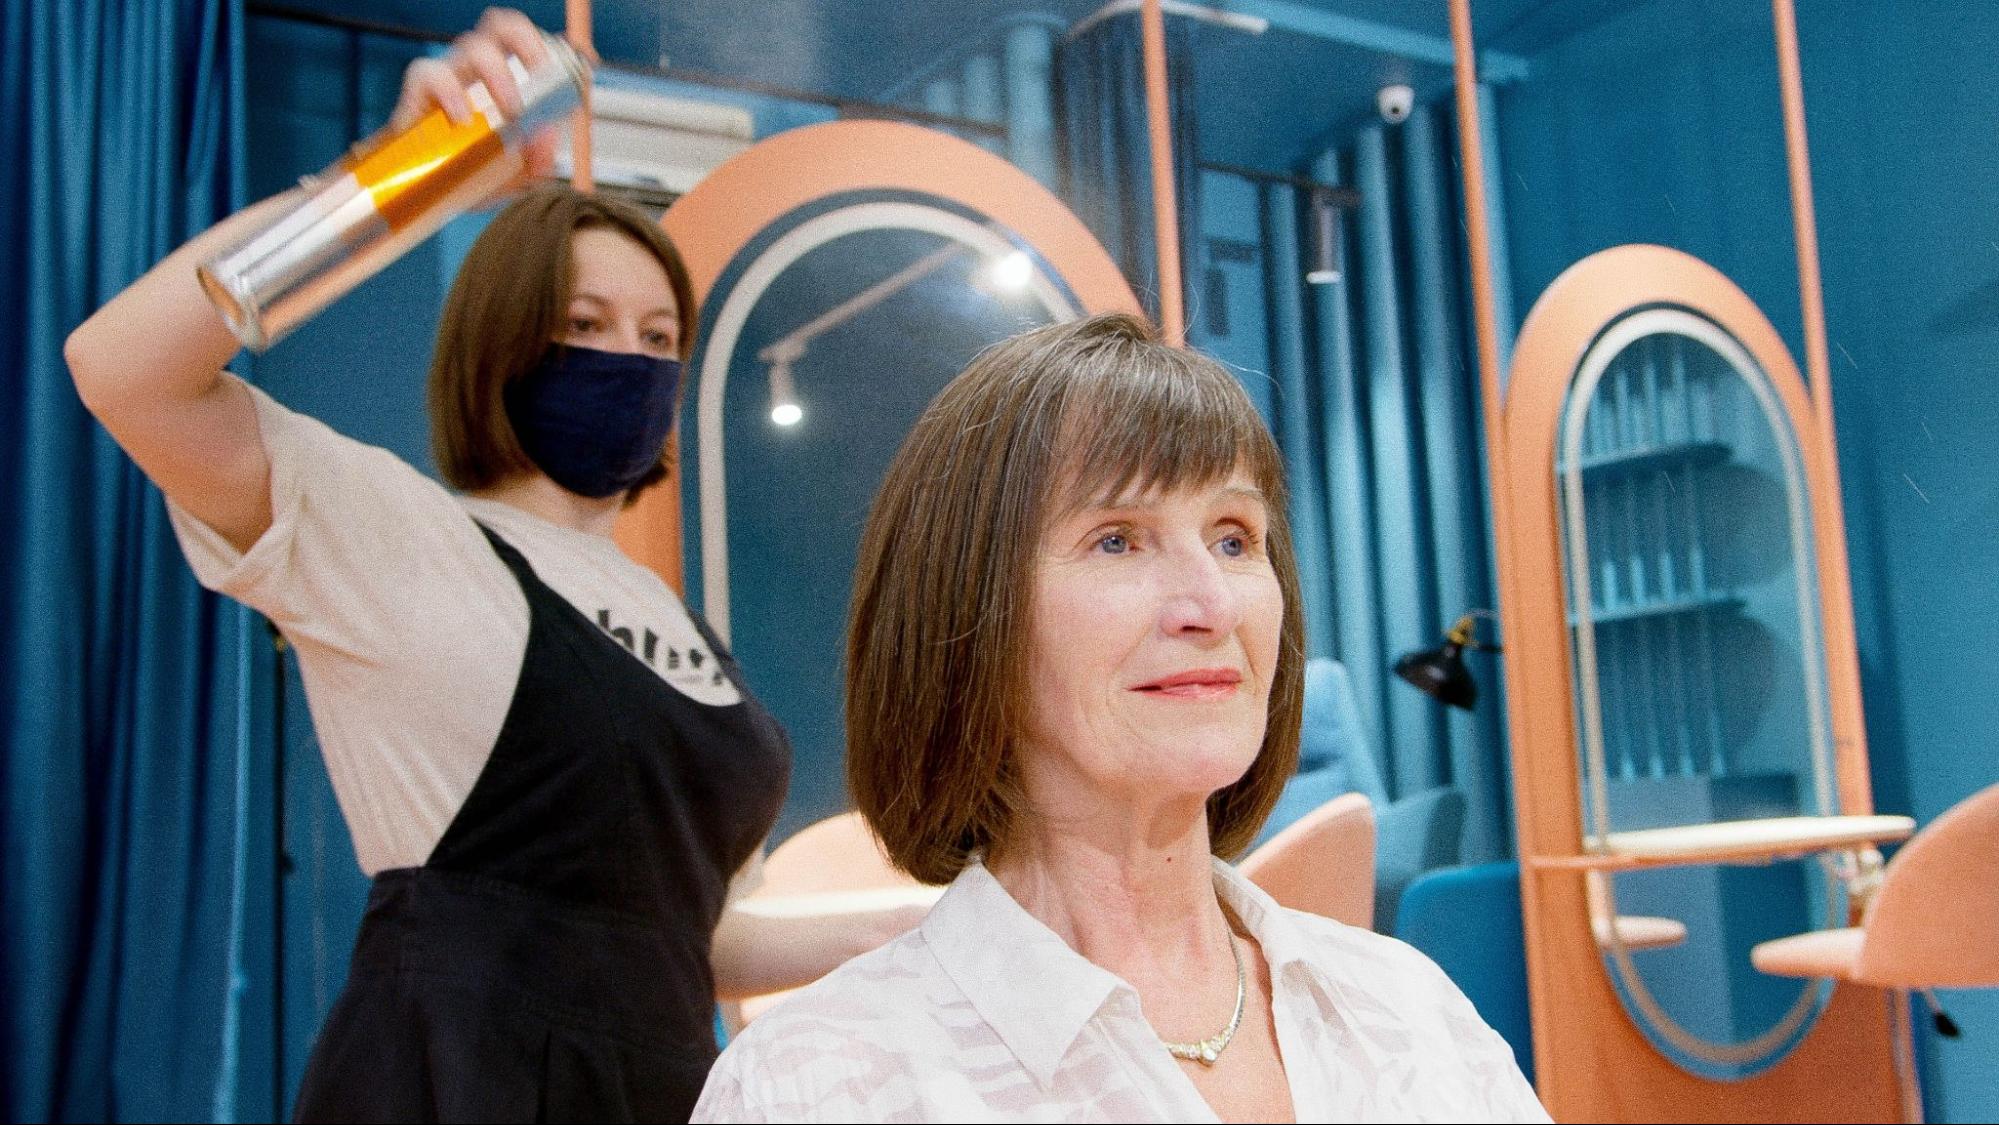
Gather The Necessary Tools and Clip In Hair Extensions
Having long, luscious hair instantly adds a touch of glamour to any style. Unfortunately, getting the perfect look isn’t always easy. Clipping in hair extensions is an effective way to add length and volume to your own hair without the need for damaging chemicals or long-term commitment.
Ensuring that you have the right tools and equipment to apply clip-in hair extensions is essential. Before you begin the application process, make sure you have everything you need, including a tail comb, a wide-toothed comb, small 1-2 inch sections of hair, and a mirror. Most clip-in hair extensions come with clips attached, so you don’t need to purchase these separately. Before applying for the extensions, it’s important to create a sectioning pattern. Start with your scalp and divide the head into sections horizontally, then clip the top sections away. You should then separate the hair into small 1-2 inch sections, which will make it easier to apply the clips.
Divide Your Hair Into Three Sections

When it comes to styling your hair, it can be difficult to know where to start, especially if you’re a beginner. Thankfully, a simple and effective way to start is by dividing your hair into three sections. This technique can be used for cutting, styling, and colouring, making it the perfect starting point for any hair care routine. Not only is this method easy to learn, but it also helps you to divide and conquer, allowing you to work on each section of your hair separately and more thoroughly.
It’s important to separate your hair into three portions before styling or washing it. This will ensure that each component receives an equal amount of care and will assist in avoiding tangles and knots. Separate your hair into three equal sections by dividing it horizontally. Part your hair down the middle of your scalp, starting at the top of your head. After that, divide each of the two sides once more to form a vertical line. To make the components, you can use your fingers or a comb. You can start styling your hair, washing it, or brushing it after you’ve divided it. This will enable you to treat every area of your head equally and maintain manageable, healthy hair.

